Monday, November 12, 2012

Ideas for Turkey Day

I was sitting on my couch contemplating a lovely butternut squash that is sitting on my kitchen counter (scouring Pinterest, of course) and my thoughts wandered to Thanksgiving.  It will be here before I know it and I have seen a lot of yummy ideas on Pinterest lately.  There are 2, in particular, that I want to try. 
Combined with some of the standard favorites, I think this could be a delicious (and beautiful) meal!
  

One of the Pinterest finds I definitely want to try are these cranberry and brie cups.  There are only 4 ingredients in this one, and they look so yummy.  I love cheese and fruit, and warm brie... mmmmmm.  I don't think you can go wrong with warm brie.


One of my favorites every year is green bean casserole.  I literally just make it from the recipe on the container of French's Onions, and, actually, I haven't even looked at the recipe since I was a kid.  I just know what goes in it.  I like it to be on the drier side, with lots of crunchy onions.

Every year we always have POUNDS of mashed potatoes (and gravy).  My BF and his brother are usually in charge of that.  We make them do the mashing.  

Another of my favorites (one of my very favorite foods actually) are the sweet potatoes.  This year, though, I really want to try this sweet potato dish I saw on Pinterest.  Roasted grape, goat cheese and honey stuffed sweet potatoes....umm, yes please!!


We'll definitely have a turkey, but once in a while we also have ham.   Now, as I may have mentioned (haha), I'm no chef, or even much of a cook. The sauce for the ham comes from my Nana. It's just a small jar of grape jelly mixed equally with mustard. It might sound strange, but TRUST ME, it's sooo good!   What I've done in the past is buy a precooked (but not flavored) ham, lay a bunch of slices out on a baking sheet, cover them in the sauce, and bake for a few minutes, just to warm the meat and carmalize the sauce a bit. 

And of course, DESSERT!  I have never made a pie... maybe next year.  But I will buy one, or three. Pecan pie (my fave), pumpkin is always good, and the BF likes apple.  


Did I miss anything important??  
Hope you guys are having a good autumn!
I have a few posts coming up about foods I've made recently, and maybe a restaurant or two.  
Thanks for following along!

Sunday, November 11, 2012

Caprese Salad Bites

OK, so I admit, to call this a "recipe" is a bit of a stretch.  

But this snack/appetizer is so so so easy, and really delicious, too! 
In this case, I can 100% guarantee anyone can make it successfully.   :-)


There are just 4 ingredients. 
Grape tomatoes (I think cherry tomatoes would be too big)
FRESH mozzarella balls.  (I bought them at the store in a tub, in water. I'm sure a big chunk of mozzarella cut into small pieces would work.)
Fresh basil
Balsamic dressing (or dip or sauce)


Tools: 
A knife
Toothpicks
A bowl to "drain" mozzarella in. 


Trim all of the large leaves off the basil stems, try not to rip them.
I found that a whole mozzarella ball and a tomato were too big to wrap the basil leaves around.  So I cut the mozzarella and used half a ball for each bite.
Poke them all with a toothpick, sticking the basil leaf on either side to hold it together.


And.... yep, that's about it! 
Pour some balsamic dressing or dip and dig in! 


 These are delicious and refreshing and (obviously) super easy. 
Also, hardly any clean up! Bonus.
Perfect to bring to a summer BBQ, or a work potluck, or...
anytime you need something quick and easy.   
I've made them twice, once at home just for the two of us, and once to take to a BBQ.  They were a big hit both times.   

Thanks Pinterest!
[ HERE is the original pin that inspired me. To be honest, I never even clicked through to the "recipe" but whoever first though of this is one smart cookie!  :-)  ]


Friday, October 5, 2012

End of Summer Grilling

We have had a few BBQs with friends to round out the end of summertime, 
and I've been trying to make something new each time!  
I found all of these recipes on Pinterest
and the links to the original recipes are below the photo collage.     
Follow Me on Pinterest


A couple of weekends ago we did some more of the grilled artichokes I mentioned here.  I'm thinking of making them again this weekend actually.  I love artichokes and they always seem to be a hit with guests.
The same evening we had blue cheese stuffed burgers.  They were SO GOOD!  My boyfriend actually made them.  He basically made two thin patties and piled blue cheese between them before sealing the edges. Warning: hot, melty cheese awaits your mouth!  Take the first bite over a plate!  ;-)
Along with the artichokes and burgers I made a cucumber and tomato salad.
It was so easy and so refreshing! 

Refreshing Cucumber and Tomato Salad
You only need: 
2 medium cucumbers, peeled and sliced  
1 ripe tomato, cut into bite sized pieces (I used one small tomato, from our garden!!, and a handful of grape tomatoes)
½ medium onion, diced
½ cup mayonnaise
1 tablespoon sugar
1 tablespoon milk (I left this out, it was already quite watery, I think from the cucumber)
Salt and pepper to taste

Mix the sugar and may, pour over cucumber/tomatoes and stir until coated. Salt/pepper... That's it!  Easy, yummy, refreshing, perfect for a picnic or BBQ. 


The following weekend, we cooked again!  We had a few friends over and ate: hot wings, more (the rest of the) artichokes, grilled halloumi and watermelon salad, and grilled strawberries (again, soooo good!) to top it all off.   YUM!

 I saw the halloumi/watermelon recipe in my Blogger feed one day, via The Cozy Kitchen.  The picture (featured below) made my mouth water!  Oftentimes I don't click on food blog recipes, as they tend to be WAY above my skill level.  But...I had just recently gotten an amazing heirloom tomato and watermelon (with balsamic) salad from a food truck so this caught my eye.  I Pinned it and just a few days later we were at Sprouts for some groceries and I saw Yanni Grilling Cheese.  While it wasn't actually labeled "halloumi" it sure sounded like the same thing to me!  So I threw it in the cart, and then grabbed a watermelon. It's very simple...

Watermelon and Grilled Cheese Salad
You need...
(I carried ) A watermelon, cut up and rind removed (keep in fridge until ready to assemble)
Halloumi or other "grilling cheese" (mine was an 8oz package)
Balsamic (1/4 cup or more depending on how many people/how big your watermelon is...?)
Honey (1 Tablespoon or more... as above)
Fresh Mint leaves (a few)
Olives (I actually  did not do the olives but they look good in the pic!)

Heat the balsamic vinegar and honey, whisking it along the way, until it simmers for a few minutes, then let it cool so it will thicken up!  As it is cooling you want to grill the cheese.  The way I cut the cheese did not work perfectly with our grill (which has pretty large spaces between the rungs/bars/whatever they are called on the grill...) but it was still kind of fun grilling cheese.  I finished the last few pieces in an egg pan on the stovetop while I was putting the salads together.  The edges of the cheese get nice and brown, and it gets really soft but doesn't lose it's shape. Then you basically just stack pieces of cold watermelon and hot cheese, drizzle some of the balsamic reduction over the top, garnish with a torn up mint leaf and dig in!  Nobody at our place was sure what to think of this when I presented it...aaand EVERYONE loved it.  :-)  I really loved it.  The cold, sweet watermelon offsets the warm and salty cheese perfectly.  And the balsamic somehow brings it all together.  Ah-maze-ing!!

The artichoke and strawberry pics are mine.  
The salads are from Pinterest/original sources. 
            1) Grilled artichokes (yep, again)
                                                       2) Cucumber and Tomato Salad                      
             3) Watermelon and Grilled Halloumi Cheese Salad (OMG)
         4) Grilled Strawberries (yep, again!)


What new dishes did you try making this summer?


I loved this watermelon salad so much I am going to share it all over the place.  :-)  Linking up with these ladies for this week! 

Wednesday, September 19, 2012

In Unrelated News...

In case anyone wants to share in my giddiness... 
I got a new blog design on my other (not food) blog.
Feel free to stop by and check it out!

LIN

It's beeee-you-tee-full!!  I'm very excited about it.  
I also got a new button for this blog  (see over there <----?) 
so if you feel inclined to spread the love, please grab one! 

Thanks, as always, for reading and stopping by and commenting.  Love every one of them!

More food chatter coming soon!  

P.S.  New blog design by Kristen at...
 Whiskey Tango Foxtrot
Check her out!

Follow my blog with Bloglovin

Saturday, September 8, 2012

Onion Bombs (Camping Food)

I found this one on Pinterest, and it was a camping food I have never heard of.  
I did a decent amount of camping (particularly with Girl Scouts) in my younger days so it was fun to browse Pinterest for camping food and stumble upon some old favorites, and some new ones!  We made these back in June on a beach camping trip to Pismo Beach. 


These are called meatloaf in onion balls on Pinterest.   I called them Onion Bombs the whole time. Honestly, I am not sure where I came up with that. (I THOUGHT I saw it on Pinterest, but now that I go back to link to the pins and post, I don't see onion "bombs" anywhere.  Weird.)   Close enough...
It's basically just meatballs wrapped in onion halves to cook.  
And it's basically delicious.  :-)

************************************************

I suggest a couple of meatballs per person on average.  They vary pretty drastically in size, depending on the size of your onion pieces.  One onion gave me 2 decent sized "wrappers", 2-3 medium sized, and a few tiny ones.

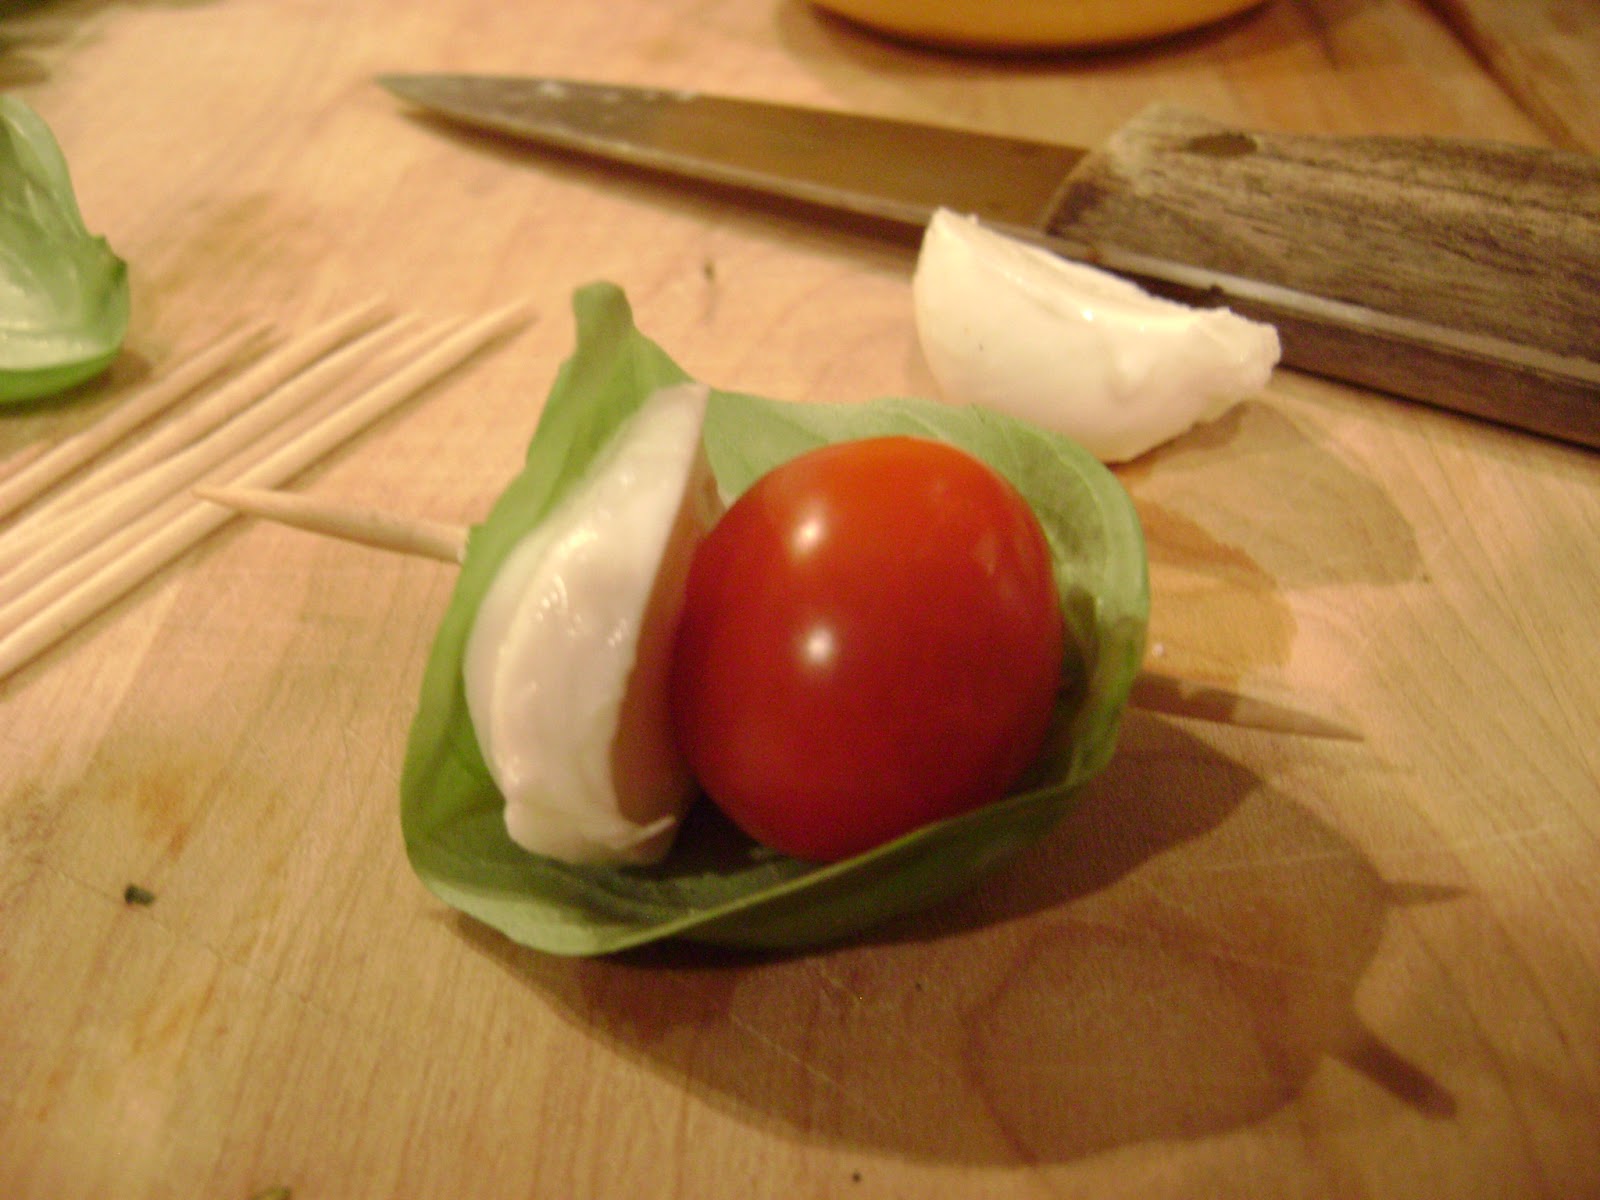
As prep, you just take off the outer onion paper stuff, and chop it in half, as evenly as you can!  Then you separate the pieces into matching pairs from the outside to the inside.  They LOOK big enough, but when you put them together there isn't as much room inside as you might think. 

(**Note:  This step could be done at the campsite if you wanted to keep the onions fresher or whatever.  I prepared them entirely at home.) 


Next (or before or at the same time if you are working with your boyfriend) you want to prepare the meatballs.  I followed the recipe I found via Pinterest as far as additions to the meat.  But I started it with some Italian sausages from our friends' butcher shop. (About 2 lbs meat?)  I also chopped up a few cloves of garlic, added ketchup, Worcestershire sauce, bread crumbs, and salt/pepper.  Hand mix it all together!
 (Don't start making the meatballs until you are ready to wrap them!) 


Once you have the meat mixed up, and the onions cut and matched up (at campsite, or at home), you are ready to wrap!   The size of each meatball is going to depend on the onions.  So just use your judgement and roll up some meatballs.  Squish them between two pieces of onion and voila! Some meat might push out the ends but it's fine because you will be wrapping them in foil.  I tried to keep them as compact as possible, though.  I had a few of every size when I was done.  Big tomato size to small lime sized.  :-)
Then I wrapped them each in foil with a twist at the top.  I used one layer of regular foil and one of heavy duty since I knew they would be thrown in the fire.  Be careful not to rip or poke holes in the foil, especially the outer layer. Ash is not a good condiment. 


This is my boyfriend putting the balls into the fire.  There are probably numerous tools for doing this but we didn't have any or (if we did, like a shovel, duh!) we didn't think to use them.  I just let the (getting drunk) boys be boys.  You can see a couple of them in the bottom of the pic, at the front of the fire.  He tried to get them in where there were coals. 


Here is a close up of one of those in the front.
We let them cook for about 10 minutes, flipped them around, and another 10 minutes (or so).  I don't think leaving them a little longer would have done any harm, as the onion keeps the meat nice and juicy. 


I didn't get any pics before the men started digging in and saucing them up. (Ketchup, Sriracha, etc)
But, they were delicious!  Fresh out of the foil the onion wrappers were nice and charred and sweet smelling.  The meatballs were super moist and had yummy grilled onion flavors soaking into them. 
Everyone in camp loved them.  We (6 people) ate every last one and wished we had more. 


This was a big success and I KNOW I will be making them again as soon as dirtbike season is in full swing.  They are just so easy and convenient.  Minimal prep time, ready to throw on the fire when you get to camp,  sand resistant, they are a good "first night camping" meal.  I'm so happy I found these on Pinterest! 


***************************
Thanks for visiting!  Feel free to browse through my food blog,
 for more recipes and some restaurant reviews around So Cal. 

You can also find me on Pinterest here....

Follow Me on Pinterest

                                or on Instagram here...


You are also cordially invited to stop by my non-food blog (kinda lifestyle, kinda random, whatever...)
at Living In Neverland.

Also... (also also!?) I'd like to mention that I am a contributor (in a very inconsistent, probably annoying to the other ladies way) to a fun book review site.  So if you like to read and/or read about books (particularly YA fiction and romance, but really, almost anything is fair game for us them) please stop by and check them us out at The Readers Cafe.  

Monday, August 27, 2012

Recent Life and Eats (Grilling all the things!)

Hello, friends!  I hope everyone has had a great summer.  I've been slacking on blogging but I have quite a few ideas brewing and plenty of drafts to work on.  

In early August, I spent a long weekend in Yellowstone (and The Grand Tetons) with my mom, and some extended family. It was some good family time, and lots of natural beauty.  At every turn in the road, the views were AMAZING...

Me in front of the Tetons (hazy day)

We saw soooooo many buffalo, and I'll tell ya...it never got old.


On the home front...

It finally got HOT enough for our tomato plant to flourish!!  We had a big, beautiful green tomato sitting on this plant for about a month.  We had a nice hot spell a couple weeks ago and it FINALLY started changing to yellow and then red, within about 2 days!  (We had been wondering for a while what was going on, but didn't realize they loved the heat so much.)  Since then it's been pretty warm and we have 5 new tomatoes growing, the second one was just picked today! 

Tomato #1 from our front yard tomato plant (that we did not, consciously, plant).  
My boyfriend, ceremoniously picking it.  I had to take a picture of the momentous occasion.  :-)


We had some chocolate (and assorted topping) covered strawberries.  
Just cuz he loves me.  :-)  (I forgot to use my real camera so just have a crappy Instagram pic.)


And now for the Grilling All The Things portion of this post!

As I mentioned, it's been warm and the grill has been calling our names.  A few weekends ago our friend invited us over to help him eat a bunch of abalone he had gone diving for.  He did a few preparations of it, and it was delicious!  I was kind of expecting it to be somewhat rubbery, but it really wasn't.  We had small pieces wrapped in bacon, larger "fillets" straight on the grill, and ceviche.  To contribute to the feast, we brought artichokes and strawberries.  
The grilled artichokes were inspired by a booth at the Ocean Beach Farmer's Market, where we had purchased a grilled artichoke a month or so ago, and fell in love.  I looked online for a recipe, and it was as simple as I thought it would be.  You boil them first, for about 20min or so.  (I did that before we went to the BBQ.)  Then cut them in half (from top to bottom) and spoon out the fuzzy stuff.  Then drizzle olive oil, a little salt and pepper, and I also sprinkled some shredded roman cheese on top and (mostly, so it wouldn't all fall off in the grill) between the leaves.  Throw them on the grill and do each side for maybe 5-10mins?  Depends on the grill's heat.  You just want it to get a little char and melt the cheese.  They were a big hit!!  We just ate them plain, no dipping sauces required. 


Not a great phone pic but these grilled strawberries.  O.M.G.  Seriously amazeballs.  (And amazeballs is not a term I use lightly!) Grilled strawberries are my new favorite thing.   Balsamic and brown sugar grilled strawberries, to be precise.   Rinse and cut the tops off (or leave them on, doesn't matter) of the strawberries.  I had 2 baskets because there were 7 or 8 people coming to the BBQ.  Then put them in a bowl and pour on some balsamic, just enough to coat them all but not so much that they are swimming in it. Give it 5-10 mins to soak in.  Then pour some brown sugar out on a plate and roll the strawberries in it. Let them sit another 5-10 mins to soak in the sugar, otherwise it will all fall/cook off on the grill.  Pile them up on your skewers (soaked for 20+mins in water so they don't burn!) and grill them for 10 mins, rotating often to avoid burning!  The flavor is ridiculously good, and they are all hot and juicy.  We ate them with vanilla ice cream.  We will be doing this again, soon, and often


Today we harvested our second tomato!  Talking about how to eat it, we decided on kabobs.  So I grabbed some stew meat (beef), bell peppers, mushrooms, onions, and more tomatoes (cherry).  We marinated the meat in a teriyaki sauce from our fridge, and then skewered everything together.  Open a bottle of wine, and ta-da!!  Easy and delicious Sunday night dinner. 


So, that's what has been going on with me lately.  I just (this weekend) got caught up on blog reading after being out in the beautiful wilds of Yellowstone for 5 days (like 2 weeks ago).  I've been reading lots of food and, especially, travel blogs lately.  Another vacation already seems in order.   Hope everyone has been having a great summer! 


Most of this stuff (and many more delicious recipes) can be found on my Pinterest Food Board

Thursday, July 12, 2012

Who doesn't like cheese?

Nobody... that's who doesn't like cheese.  
OK, maybe not entirely accurate but that's how it should be.
Because cheese is AWESOME.  :-)


Here's a pic of a cheese plate we had last week. It's so easy, relaxing and fun (and delicious) to pull out the cheese and all the accompaniments. We try to do it every couple of weeks or so.  It's almost like an at home date.  :-)

Our spread....
Two kinds of bread
Pistachios
Honey
Habanero Jam
Strawberry Jam
Salami
A wedge of Brie
Smoked gouda
Swiss 
Aged white cheddar
and of course WINE! (not pictured)

Hope everyone has a great weekend!  Happy Friday. 
 
P.S. A post on a delicious meal I made while we were camping a few weekends ago...coming soon! 

Sunday, July 1, 2012

If you're looking for me...

Happy Weekend Everyone!!
And Happy Canada Day to all of my Canadian relatives.  :-)  


I'm guest posting over here today!   Sharing my most viewed recipe and some of the things I want to make coming up... 
Hop over and visit (me and) Sarah, she's got tons of good recipes!!


Tuesday, June 26, 2012

Crock Pot French Dip Sandwiches

This was (shocker!) another Pinterest find.
Follow Me on Pinterest

The recipe I used came from this blog.
French dip has always been one of my favorite sandwiches (Phillipe's anyone??), so I was really excited to make this one.  
It was pretty simple and smelled great when I got home from work! 


What you need....
  • 1 medium yellow onion
  • 3/4 cup beef broth/stock
  • 1/4 cup soy sauce
  • 1/2 cup water
  • 1 Tbsp Worcestershire sauce
  • 1 Tbsp creole mustard (I used dijon, not pictured)
  • 2 cloves garlic, roughly chopped
  • ~3lb chuck roast
  • salt
  • pepper
  • 6-8 sandwich rolls, split (not shown)
  • 6-8 slices of provolone or swiss cheese (not shown)


Pour liquids into crock pot. Slice onion into big flat rounds and throw on top. 
Add mustard and chopped garlic.


 Toss the meat on top. (Duh.)  Turn it on (LOW) and go to work!


 Come home to mouthwatering smells eminating from your kitchen... Gently shred the meat with a fork (or two forks) and leave it in the liquid a little longer to let it all soak in.


 Toast your buns!  Pile on  meat and scoop up some of the au jus for dipping.  


 I forgot to get a pic with cheese but we melted it (broiled it) over the top, along with some onions.  That's pretty much it!  Close it up and start dipping your French Dip!   :-)


Considering the amazing success of the Albondigas soup, nothing else from the crock pot has really managed to measure up yet.  Don't get me wrong, we ate these and enjoyed them.  The au jus was a bit salty, but we certainly did not have any leftovers.  :-)  We put provolone cheese on them, which was a nice addition.  I think they could be even better with some sauteed mushrooms.  Anyhow, next time I'll look for the no/low salt broth and maybe skip the soy sauce altogether.

If you make it, ENJOY, and let me know your thoughts or suggestions!  
I definitely want to give this one another shot. 


Linking up with these lovely ladies to share the deliciousness.  :-)
(Including Pinning! @ A Night Owl Blog!  Having trouble with the button. boo)


Keeping It Simple


Friday, June 15, 2012

Firefly Restaurant @ The Dana Resort

Waaaaay back over Memorial Day Weekend my mother in law and I decided to treat ourselves to a dinner out on the town.
I have a bunch of restaurant.com certificates that we haven't used. 
After much debate,  I printed one out for a restaurant called Firefly.  It is located at a hotel/resort down on Mission Bay called The Dana, and had nice views of the bay and the sunset.  (Please excuse the android phone pics, I should have remembered my MIL has an iPhone and taken better pics with hers!) 

Raspberry Mojito

We had to spend $100 (NOT counting alcohol!) to use our $50 certificate.
So, before our entrees, we ordered some fried brussel sprouts.  Confession, this was only my third time ever eating brussel sprouts. And they were AMAZING! I wish I had taken a pic, no matter how poor quality. :-(   They looked to be just cut in half, probably pan fried, with garlic pieces and red onions, and an apple cider vinegar reduction. That reduction...wow.  It really made me love brussel sprouts!  :-)  

The also offered roasted bone marrow as an appetizer.  I have not tried this yet, but my MIL was not into it so... another time, bone marrow!  

To further run up our total, we got a delicious cheese plate.  I.love.cheese.plates!  Actually, this was warm brie, so just one cheese, but it came with honey, nuts, fruit, tomatoes and roasted garlic.  At home we usually do some kind of honey/fruit/nut combo.  I wasn't too sure about the tomato or garlic but everything else was as yummy as I was expecting. 


I debated getting the crispy pork belly sandwich or the pinot noir braised beef short rib.
In the end we both ordered a filet for our main course.  It came with green beans and gorgonzola mashed potatoes.   They were both cooked just as requested and the potatoes were so creamy and delicious with the gorgonzola in them.  

Sorry Firefly, this is not a good representation of your food!

I would say overall the food was very good. 
I would return for the brussel sprouts. (And to take pics of them, better pics than these!)  
The drinks were so-so. 
The location was lovely and the service was good (despite a seeming overabundance of servers, which I think was because we were one of the few parties sitting inside and there were more people sitting outside). 

I would rate Firefly a 7 out of 10 (paying full price).
(OR... an 8 based on the price for the amount of food/drink we had, but that was thanks to the certificate!   
Snag one HERE, if you want to give this place a try! )


The Firefly Restaurant & Bar on Urbanspoon

Tuesday, June 12, 2012

Smashed Potatoes!

Just and FYI up front, I have changed the name of these (in my own head, and therefore on my own blog)...  All over Pinterest and the other links I have been led to, these are called "crash hot potatoes".  I'm not sure why, but I have been calling them smashed potatoes and it's stuck in my head.

My pin (pic below) was sourced from this lovely blog, in turn her post was inspired by this recipe, on Pioneer Woman. (In case you want tons more detail and pics!)


I was tempted by the simplicity of this recipe, and a few of my real life friends commented on my pin about how good and easy they were.  So I gave it a try, and have given it a few more tries since then! 

What you need...

  • Potatoes (I love the "baby reds" but I think any small potato would work.)
  • Olive Oil
  • Salt/Pepper 
  • Any herb you might enjoy (Pioneer Woman's suggestion, I haven't done any with herbs yet.)


It's soooo quick and easy....I'm just going to give it to you quick and easy!

Boil water and toss in your potatoes.
Cook them until they are fork-tender.
Prep the cookie sheet.  (I use tin foil sprayed with a little Pam or wipe it with olive oil.) 
Put the cooked potatoes on the cookie sheet, spread out so there is room for the smashing.
With a potato masher (or fork, or bottom of a glass, whatever is handy), gently press down on top of each potato until it gets slightly "flat" and breaks open.
Sprinkle potatoes with (at least) olive oil, salt, pepper ... and maybe some garlic powder, herbs, whatever floats your boat! 
Bake in a 450 degree oven for 20-25 minutes until crispy and browned. 


I have made these about 5 times in the past 2 months.  We love them.  
I cook them longer (and hotter) now that I did at first (when I took the pics) so they do come out more like the lovely pic at the top of the post.  Good and crispy. 

You can top them with a bit of sour cream and green onions...
...or bacon and cheese...
 whatever condiments you desire!
Any kind of toppings really, it's like a modified baked potato bar.  :-)
 
As you can see on the pic to the right above, my boyfriend threw everything in our fridge on top of his. (Chopped onions, sriracha, shredded/melted cheese, horseradish mayo)  
Personally I like them with a bit of ranch or honey mustard for dipping.  
Although I eat about half of them just as they come out of the oven.  
Honestly, you really can't go wrong!!  I hope you agree if you decide to try them.